
Today we will make a 2 LED flasher using Arduino (UNO)
Usual we use a transistors circuit to make two LED flasher. This we will study programing C code on Arduino. It is easy to learn. Step to step by Chayapol. Lets go!
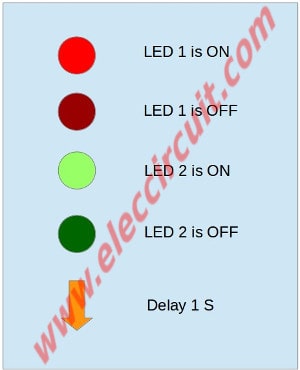
Figure 1 Define pictograms,easy to understand
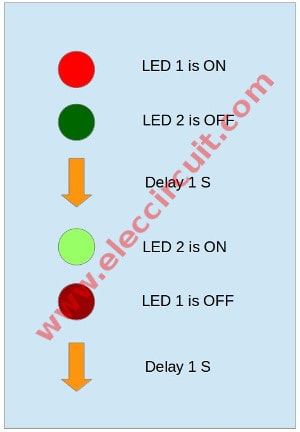
Figure 2 Set the diagram programing
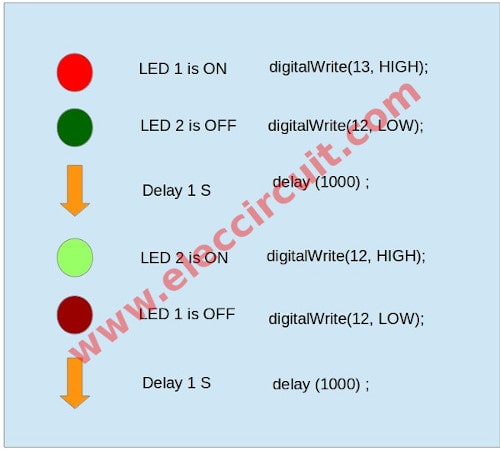
Figure 3 Put code in programing
Read also: DIY Flashing Bicycle LED Taillight Circuit
Then, we open the Arduino IDE software. Next,write the code below
CODE
void setup() {
  pinMode(13, OUTPUT);
  pinMode(12, OUTPUT);
}
void loop() {
  digitalWrite(13, HIGH);
  digitalWrite(12, LOW);
  delay(1000);
  digitalWrite(13, LOW);
  digitalWrite(12, HIGH);
  delay(1000);
}
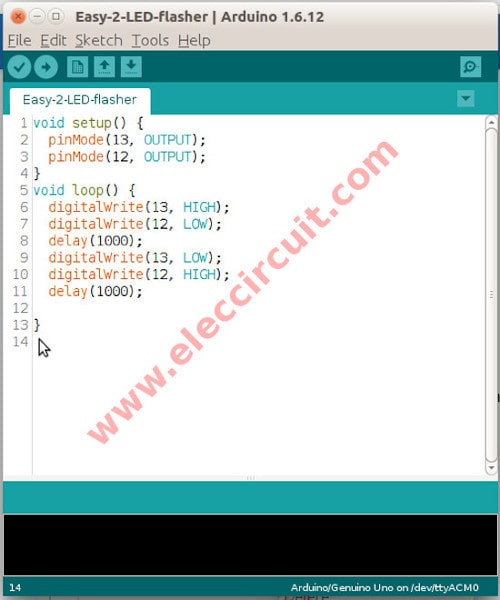
Figure 4 programing on Arduino IDE
And then, when you’re done. Press Ctrl+R to Compile. For check it.
Parts you will need:
Arduino
2X LEDs
2X 470 ohm resistor
jumper wires
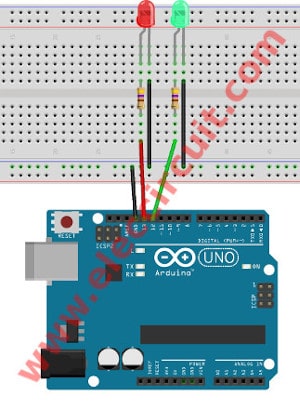
Connect the parts as Figure 5
Then, apply USB port to computers
Finally, Click to Sketch>Upload code to the arduino board.
We will see 2 LEDs alternately blink as Figure 6.
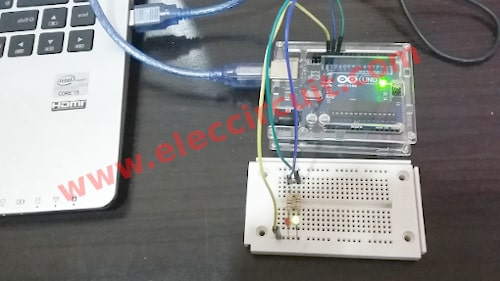
And video below
-First we set time delay is 1 S
-Second we set time delay is 0.1 S (LED flasher faster)
-Third we set time delay is 3 S (LED flasher slowly)
Related circuit: 1.5V LED flasher circuit using transistor, output one LED to 5 LEDs with only one AAA battery.
we can use Arduino to make a 2 LED flasher but we have to adapt the We can use Arduino to make two flsher lights, LED work light, which is controlled by the internal code Arduino. Good luck
GET UPDATE VIA EMAIL
I always try to make Electronics Learning Easy.
Related Posts


Hi! My name is Aot. I like to play games. I’m 16 years old.
Now I rewrite article on our web with my dad.